
User Roles
Creating and Assigning User Roles in TEQ
User roles are one of the most important steps when setting up TEQ. Roles determine what each employee can access and perform, ensuring your system stays organized, secure, and easy to manage.
Examples of role usage:
- 🧑💼 Sales staff → Access to Sales only
- 📅 Planners → Access to Planning sections
- 🏢 HR personnel → Access to HR features only
Step 1: Open User Roles Settings
- Go to Settings → Admin → User Roles.
- Here you can view, edit, or create a user role.

Step 2: Create a New User Role
- Click ➕ New Role.
- Enter a clear role name such as:
- 📊 Sales
- 📅 Planning
- 🔧 Admin
💡 Tip: Use consistent naming conventions so employees easily understand their access level.

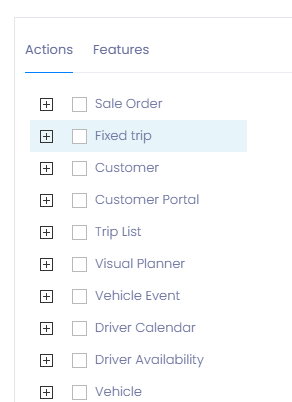
Step 3: Set Actions and Features
When editing or creating a user role, define:
- Actions → What the user can do
(create, edit, delete, approve, notify, plan trips, etc.) - Features → What the user can see
(Sales, HR, Planning, Invoice, Settings, etc.)
Only give access to what the employee truly needs. This keeps your TEQ environment structured and reduces the chance of accidental changes.
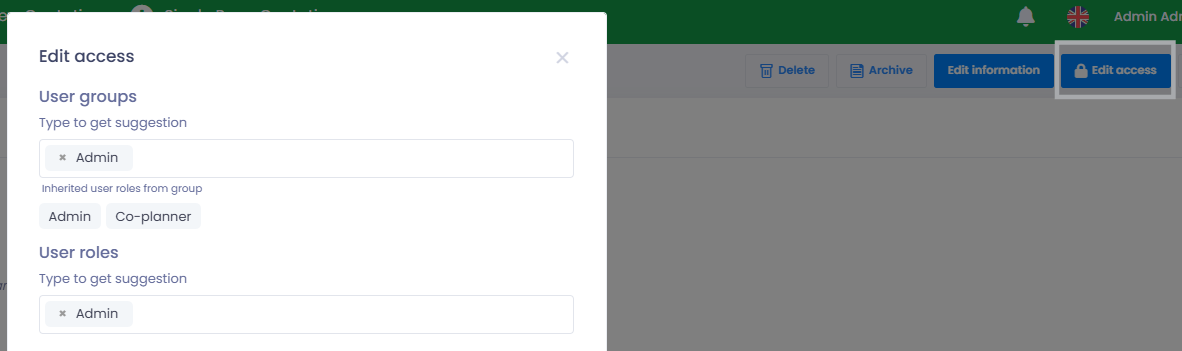
Step 4: Assign Roles to Employees
- Go to Settings → HR → Employees.
- Find the employee and click the Details icon.
- On the employee card, click Edit Access (top right).
- Select the correct User Role.
- Save your changes.
🛠 Troubleshooting
Employee can’t see the correct menus
- Check that the User Role includes the required Features.
- Confirm the employee has the correct role assigned.
Employee can’t perform an action
- Make sure the User Role includes the necessary Actions (e.g., edit, delete).
- Refresh or log out and back in after role changes.
New User Role not appearing in the list
- Verify that the role was saved successfully.
- Refresh the page after creating the role.
Multiple employees need the same combination of roles
- Consider creating a User Group instead of duplicating roles.
Still having trouble?
- Contact TEQ Support with screenshots of the User Role setup and employee card for faster assistance.