
Categories
Creating Categories and Tags for Trip Templates
To keep your Trip templates well organized and easy for customers to navigate, you can create template categories and tags. These are visible in the BusBusiness portal, so it’s important they are clear, consistent, and meaningful.
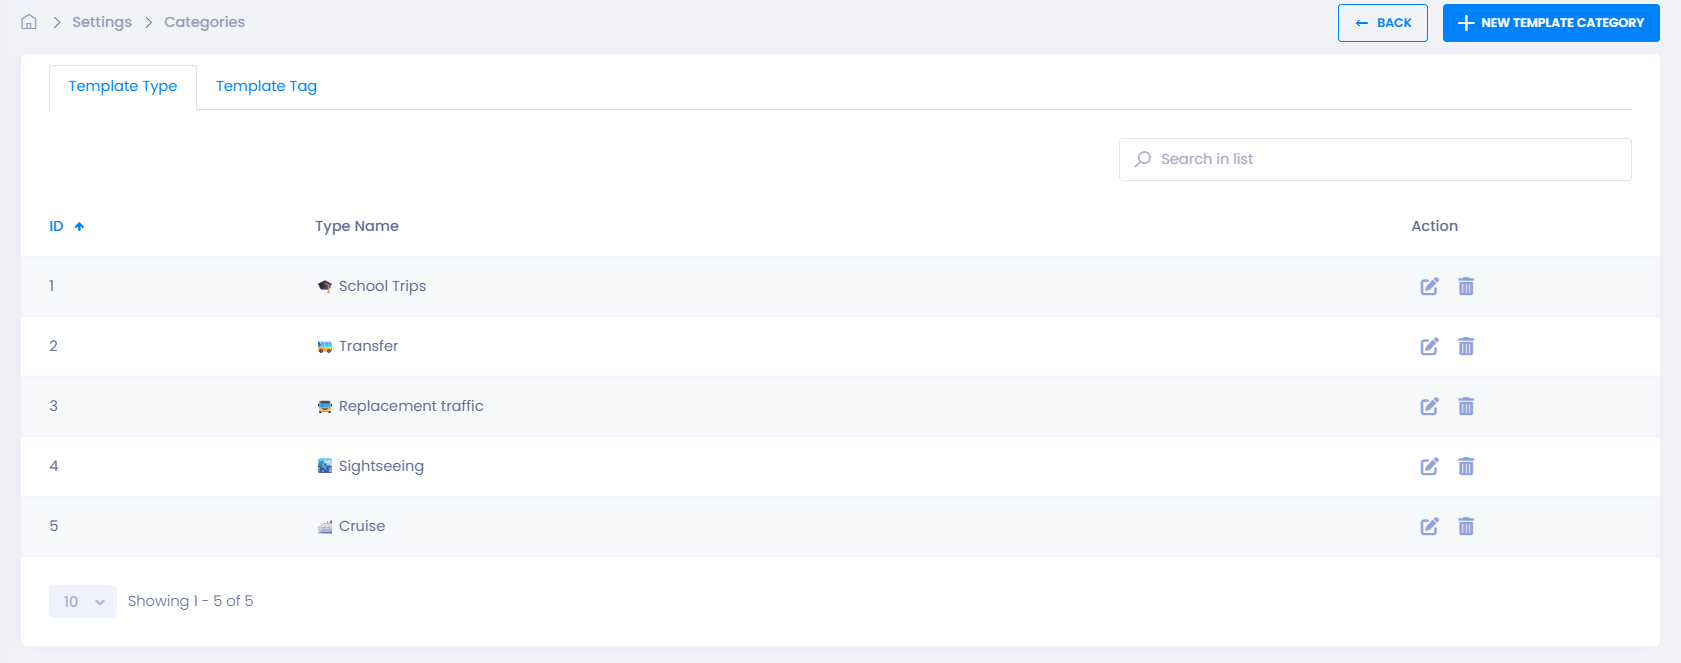
Step 1: Create a Template Category
Template categories help group similar templates together.
- Go to Settings → Categories
- Click ➕ New Template Category
- Enter a clear and descriptive category name
Example:
🎓 School Trips
- Click Save
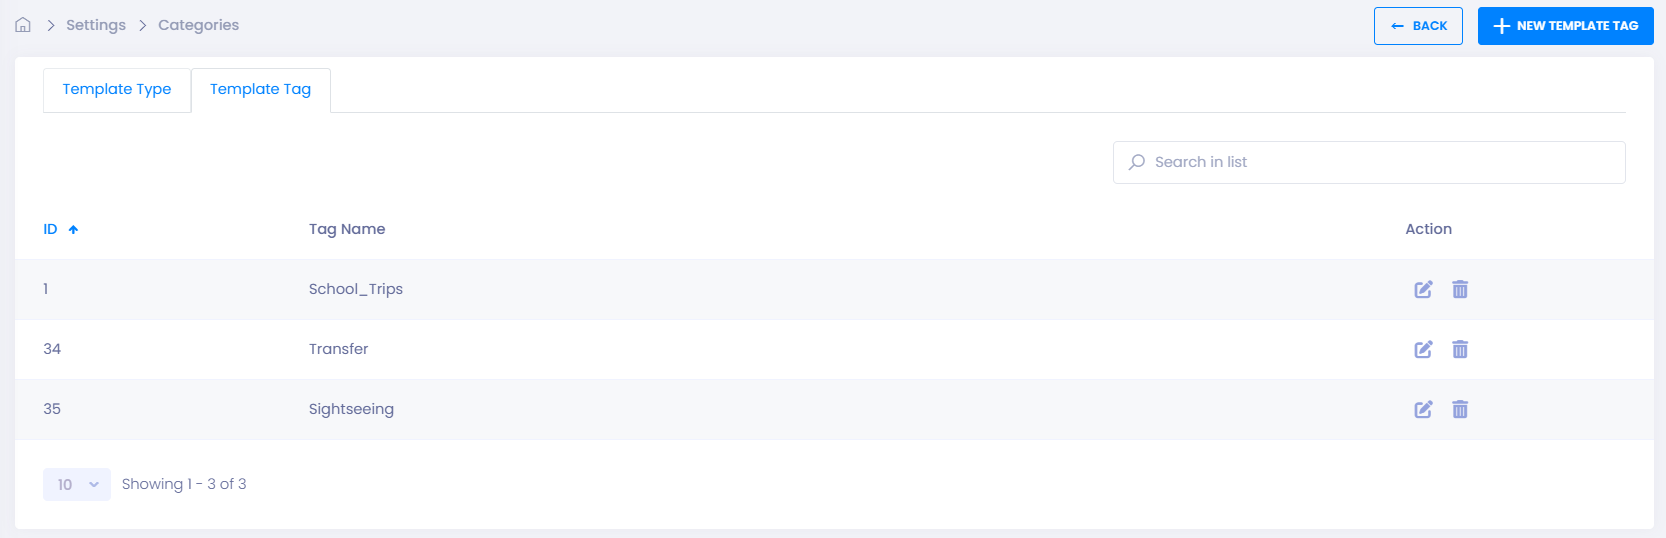
Step 2: Create Template Tags
Tags make it easier for customers to filter and recognize templates in the BusBusiness portal.
- Go to the Template Tag tab
- Click ➕ New Template Tag
- Enter a short, descriptive tag name
- Click Save
💡 Tip: Tags are shown directly to customers, so keep them:
- Short
- Relevant
- Easy to understand
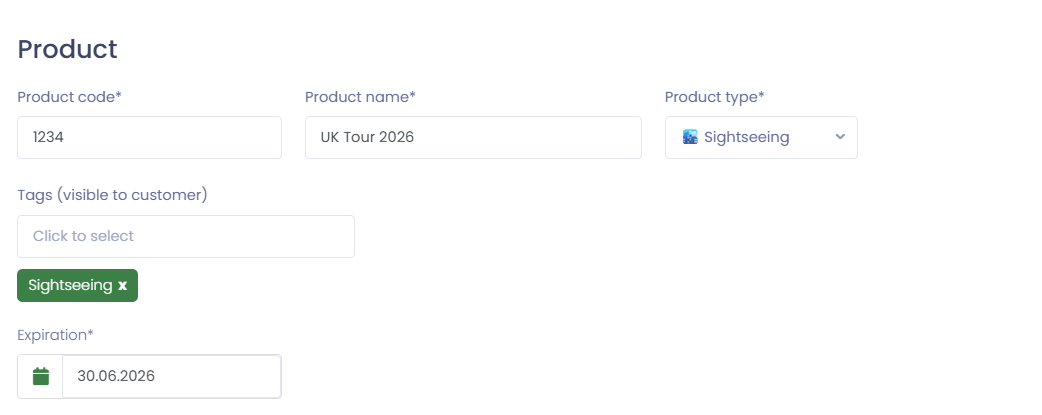
Step 3: Use Categories and Tags in Templates
- When creating or editing a Trip template, you can now:
- Assign one Category
- Add one or more Tags
This helps customers quickly find the right trip templates in the BusBusiness portal and improves overall usability.
👉 Learn more: Templates
🛠 Troubleshooting
Category or tag not visible in template
- Confirm the category or tag was saved successfully
- Refresh the page and reopen the template editor
Tags not showing in BusBusiness portal
- Make sure the template is published and available to customers
- Verify the tag name is not empty or duplicated
Cannot create new categories or tags
- Check that your user role has access to Settings
- Contact your TEQ administrator to verify permissions
Still having trouble
- Contact TEQ Support with screenshots and the category or tag name you’re trying to create