
Re-send and credit
Resending an Invoice and Issuing a Credit Note
TEQ makes it easy to resend an invoice while automatically generating the corresponding credit note. This ensures accurate billing and a clear audit trail for both you and your customer.
Step 1: Open Invoice History
- Navigate to Invoice → History.
- Locate the invoice you want to resend using search or filters (date, customer).
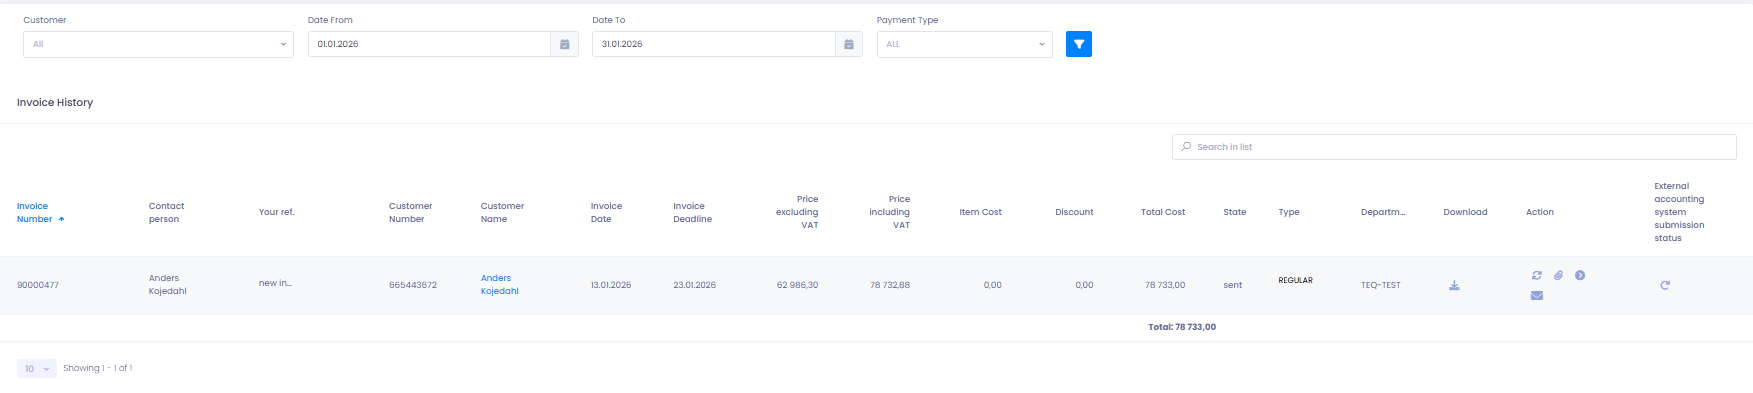
Step 2: Resend the Invoice
- Click the ✉️ envelope icon next to the invoice you want to resend.
- TEQ will open the invoice creation window, allowing you to:
- 📝 Adjust line items
- 💲 Update prices
- ✏️ Edit comments
- 📄 Add attachments

Step 3: Send the New Invoice
Once you are ready:
- Click Send to issue the updated invoice.
- TEQ will automatically:
- Create a credit note for the original invoice
- Send both the new invoice and the credit note to the customer
Step 4: Review the Results in Invoice History
After sending:
- The new invoice and its credit note will appear in Invoice → History
- Previously credited invoices display a red envelope icon next to the invoice number

🛠 Troubleshooting
Envelope icon not visible in Invoice History
- Ensure the invoice has been sent at least once, drafts cannot be resent.
- Confirm your user role includes permission to manage invoices (Settings → Admin → User Roles).
Credit note not appearing
- Refresh the page, sometimes the credit note may take a moment to appear.
Customer did not receive the new invoice
- Verify the customer’s email address in their customer card.
Unable to edit the invoice before resending
- You may not have edit rights for invoices.
Ask your TEQ administrator to review your permissions.
Still experiencing issues?
- Reach out to TEQ Support with invoice numbers and screenshots for faster troubleshooting.