
Outgoing Email Settings
This article explains how to configure outgoing email in TEQ. TEQ supports two methods: Amazon SES and Office 365 via Microsoft Graph API. Only one method can be active at a time. All outgoing emails from TEQ, including invoices, booking confirmations, and system notifications, are sent using whichever method is configured.
This setting is only available to users with access to the Company - Email feature.
To open the settings, go to Settings > Company > Email.
Before you start
Method | What you configure in TEQ | What must be done first |
|---|---|---|
Amazon SES | Sender Email , Sender Name , Reply To Email | DNS records for DKIM must be added to your domain before emails will send correctly. Ferdia provides these record values during onboarding. |
Office 365 (Microsoft Graph API) | Sender Email , Sender Name , Reply To Email | Azure AD app registration must be completed and credentials provided to Ferdia. Ferdia stores the credentials on the backend before you can use this method. |
❌ Do not configure the sender email fields in TEQ before your DNS records (for Amazon SES) or Azure credentials (for Office 365) are in place. TEQ will appear to save successfully but emails will fail to send.
Option 1: Amazon SES (default, recommended)
Amazon SES is the default outgoing email method and the recommended choice for most companies. Ferdia provides the required DKIM DNS records during onboarding. Add those records to your domain before completing the setup in TEQ.
Step 1: Add DKIM records to your DNS
Add the DKIM records provided by Ferdia to your domain's DNS settings. The exact steps depend on your DNS provider. Allow time for DNS propagation before testing.
💡 If you have not received your DKIM record values, contact TEQ Support before continuing.
Step 2: Configure the sender details in TEQ
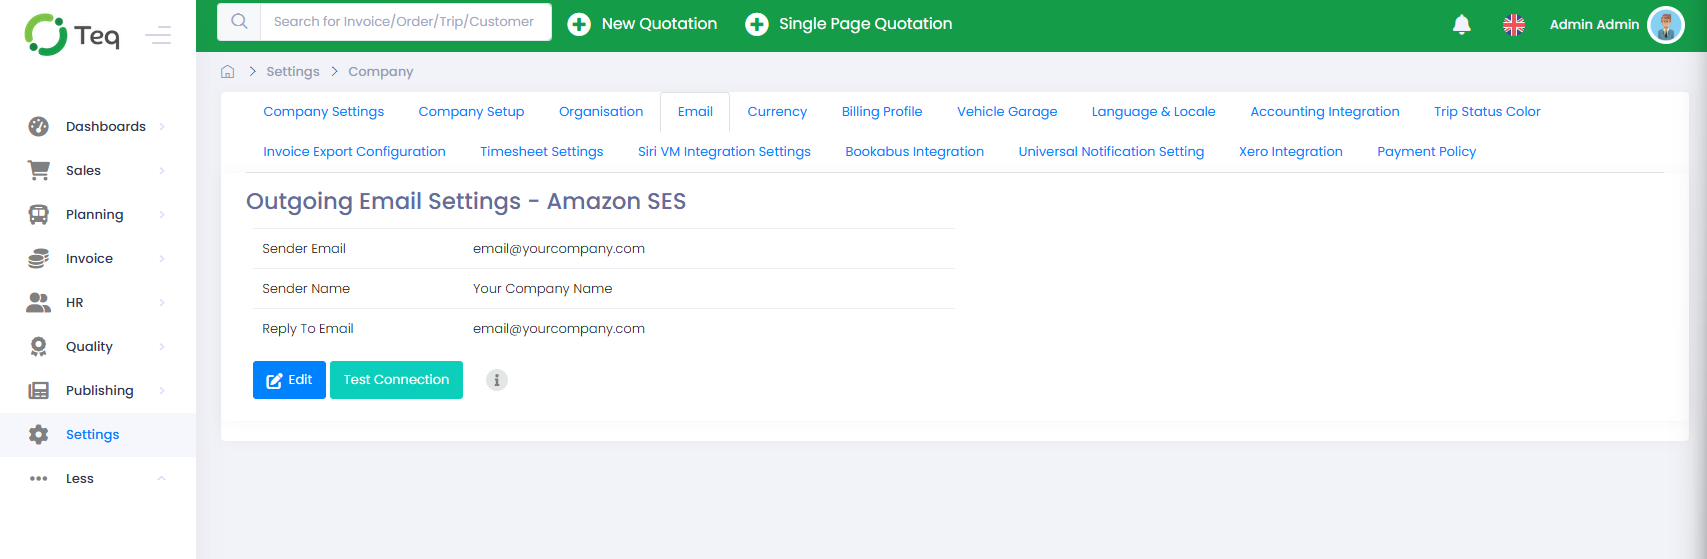
- On the Outgoing Email Settings page, locate the Outgoing Email Settings - Amazon SES section.
- Click Edit.
- Fill in the following fields:
Field | Description |
|---|---|
Sender Email | The email address that appears in the From field on all outgoing emails. Must be a verified address on your domain. |
Sender Name | The display name that recipients see as the sender. |
Reply To Email | The address replies are sent to. Can be different from the Sender Email . |
- Click Save.
Step 3: Test the connection
Click Test Connection to verify the configuration is working. A confirmation message will appear if the test succeeds.
⚠️ Warning: If the test fails, the most likely cause is that the DKIM DNS records have not propagated yet, or the sender email address is not verified. Do not use this method in production until the test passes.
Option 2: Office 365 (Microsoft Graph API)
This method uses the Microsoft Graph API to send email through your organisation's Office 365 account. It requires an Azure AD app registration to be completed first. Ferdia stores the Azure credentials on the backend. You configure the sender details in TEQ yourself after Ferdia confirms the setup is complete.
Step 1: Complete the Azure AD app registration
You need Microsoft 365 Global Administrator access and access to the Azure Portal to complete these steps.
Register the application
- Sign in to portal.azure.com with a Microsoft 365 admin account.
- Search for App registrations and click App registrations.
- Click + New registration.
- Fill in the following:
- Name: A recognisable name, such as TEQ Email Service
- Supported account types: Accounts in this organizational directory only
- Redirect URI: Leave empty
- Click Register.
- Copy the Application (client) ID and the Directory (tenant) ID. You will need both for the next steps.
Create a client secret
- Go to Certificates & secrets > + New client secret.
- Enter a description to identify the secret, such as TEQ Email Service Secret.
- Set an expiry period. 365 days or longer is recommended to reduce disruption risk.
- Click Add.
- Copy the secret value immediately.
⚠️ Warning: The secret value is only shown once. If you navigate away before copying it, you must delete the secret and create a new one.
💡 Note the expiry date. When the client secret expires, all outgoing email from TEQ will stop until a new secret is generated and provided to Ferdia.
Configure API permissions
- Go to API permissions > + Add a permission > Microsoft Graph > Application permissions.
- Search for Mail and select Mail.Send.
- Click Add permissions.
- Click Grant admin consent for [Your Organisation] and confirm.
- Verify that Mail.Send shows a green granted status.
💡 Admin consent is required because TEQ sends email as an application, not as a signed-in user. Granting consent only authorises this specific app to send email on your behalf. It does not give TEQ any other access to your Microsoft 365 environment.
❌ Do not skip the Grant admin consent step. Without it, authentication will fail even if the credentials are correct.
Set up the sender email account
If your organisation already has a dedicated email address for outgoing system emails, you can use it directly.
If not, create a shared mailbox:
- Go to admin.microsoft.com > Teams & groups > Shared mailboxes > + Add.
- Enter a mailbox name and email address.
💡 The mailbox name becomes the sender name visible to recipients. Choose something recognisable, such as your company name.
Step 2: Provide credentials to Ferdia
Send the following to TEQ Support:
- Application (client) ID
- Directory (tenant) ID
- Client Secret value
- Client Secret expiry date
- Sender email address
Ferdia will store the credentials on the backend and confirm when the setup is complete. Do not proceed to Step 3 until you receive that confirmation.
Step 3: Configure the sender details in TEQ
Once Ferdia confirms the backend setup is complete:
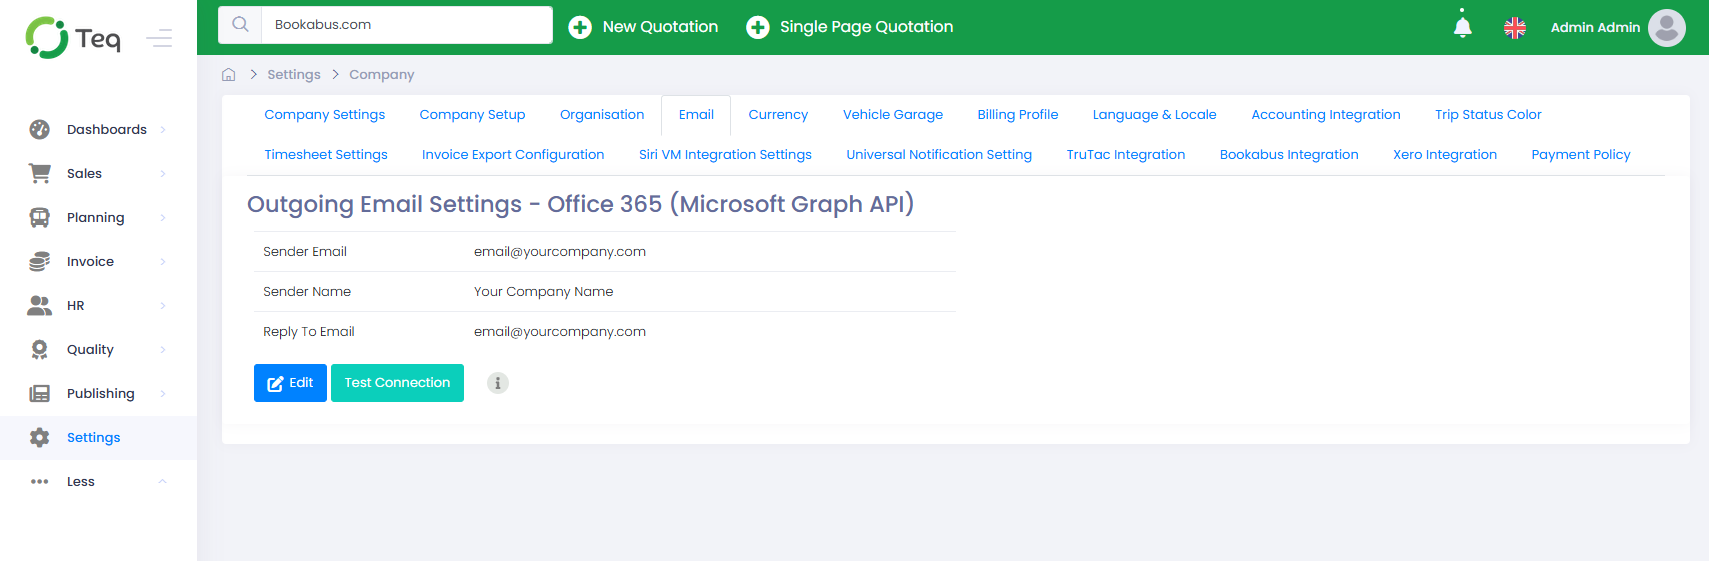
- On the Outgoing Email Settings page, locate the Outgoing Email Settings - Office 365 (Microsoft Graph API) section.
- Click Edit.
- Fill in the following fields:
Field | Description |
|---|---|
Sender Email | The shared mailbox or dedicated email address set up in Step 1. Must match the address provided to Ferdia. |
Sender Name | The display name recipients see as the sender. |
Reply To Email | The address replies are sent to. Can be different from the Sender Email . |
- Click Save.
Step 4: Test the connection
Click Test Connection to verify the configuration is working. A confirmation message will appear if the test succeeds.
⚠️ Warning: If the test fails, confirm that Ferdia has completed the backend credential setup before investigating further.
Troubleshooting
🔍 Check this first: If emails are not sending, verify that Test Connection passes. A failing test means the configuration is incomplete or incorrect. Resolve the test failure before investigating anything else.
Test Connection fails for Amazon SES
- Check that the DKIM DNS records provided by Ferdia have been added correctly to your domain.
- DNS changes can take time to propagate. Wait and retry if the records were recently added.
- Confirm the Sender Email is a valid address on your verified domain.
Test Connection fails for Office 365
- Confirm that Ferdia has completed the backend credential setup.
- Check that admin consent was granted for Mail.Send in the Azure Portal.
- Confirm the Sender Email in TEQ matches the address provided to Ferdia exactly.
- Check that the client secret has not expired. If it has, generate a new secret in Azure and send the new value and expiry date to TEQ Support.
Emails were working and have stopped
- For Office 365, the most likely cause is an expired client secret. Check the expiry date in Certificates & secrets in the Azure Portal.
- For Amazon SES, check that your DNS records are still in place and have not been removed or altered.
Shared mailbox not found after creation
- Wait a few minutes after creating the shared mailbox in the Microsoft 365 admin centre before using it.
Still having trouble?
Contact TEQ Support with a screenshot of the Outgoing Email Settings page and the result of Test Connection for faster assistance.